Amazon have a good write up on how to install WordPress on Amazon Linux AMIs however I couldn’t find much on how to get it working with Red Hat.
I wondered if it was any different so got on with it and found it was pretty much identical. Given the prerequisites have all been completed eg LAMP stack installation this should be a piece of cake.
As with all implementation a good idea is to take a backup of the current setup before digging deep hence started with taking a snapshot of the server and later on converted it to an AMI to be used as a base image.

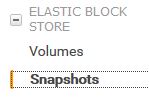
Using “Create Snapshot” will take a point in time screenshot of the volume. Note the first snapshot will contain all data from the volume whereas future snapshots of the same EBS volume will be incremental. They are stored in S3, if taking them regularly it is perhaps a good idea to setup Lifecycle policies and move older snapshot to S3-IA and to Glacier for archival.
Open Elastic Block Store > Snapshots to view the new item. It will take a while – depending on size of the volume – but “Status” should switch to completed and “Progress” to available (100%).

With our server volume backed up let’s move onto getting WordPress installed and MySQL configured. SSH onto the EC2 server using your favourite terminal application and download WordPress using wget.

Then extract the file using tar use ls to check the content of the directory.
![]()
Now next thing would be to configure MySQL with a new user, database and secure it with a password. Verify that the Apache service is running using service mysqld status first and then proceed. By default there is no password set so just press Enter on the password prompt – we will create the password later. Chose a username note if using hypen or any special character you will need to add it between quotes otherwise it won’t be accepted.
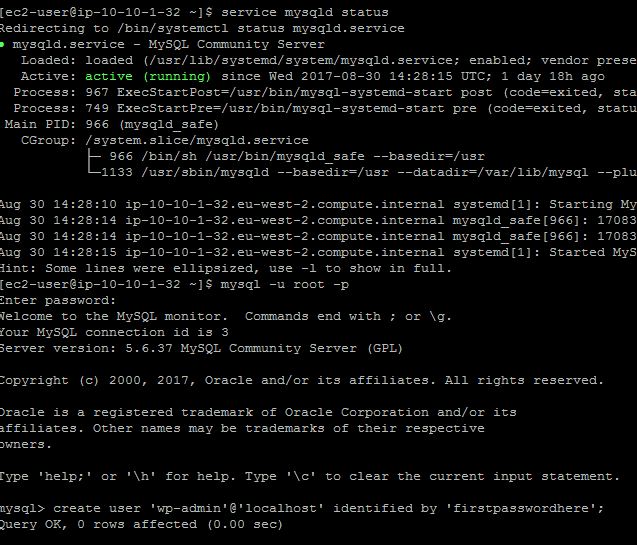
Chose a new Database name and then grant full permission for the new user that you created in the previous step and exit when done. Note MySQL did not accept the database name within quotes however removing it worked fine – go figure!


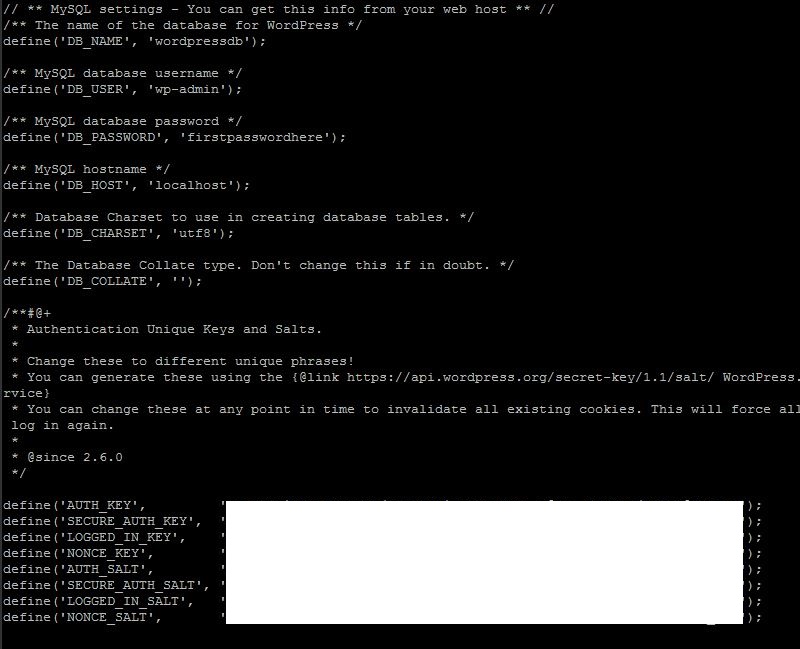
To get PHP talk to MySQL a php config file needs creating and MySQL username, database and password added. Please note the security flaw here as the MySQL user password will be hard coded in a file kept on the server. Best to avoid this and use Security Roles in AWS instead but for the purpose of this exercise will leave it as is for now.
By default PHP install will create a sample config file that we will copy and rename to work with leaving the original intact.
![]()
Enter the username, database, host and password. Also Keys and Salts will need adding. Using this site will generate a set of keys that you can copy/paste.
With MySQL and PHP pretty much completed let’s move over to WordPress and copy the downloaded folder to /var/www/html directory unless you want to move it to some other location.

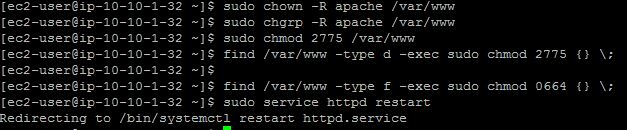
Now to allow WordPress permalinks access to Apache .htaccess file httpd.conf file needs tweaking a little bit.
![]()
Within this file look for <Directory “/var/www/html”> and set attribute AllowOverride to All
The next step is optional and might have been done as part of the LAMP stack setup. It’s always a good idea to double-check again.
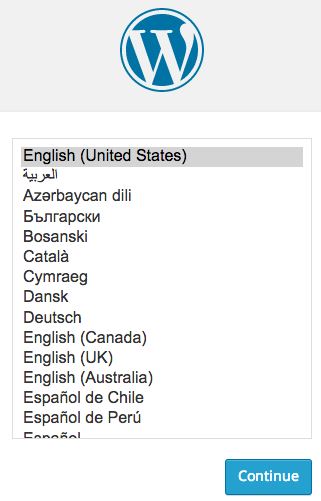
The WP site should now be up and running. Open your favourite web browser and navigate to the IP or DNS (if using Route53) name of the server which should show the WordPress config screen. Select your language from the list and the fill in the form. Make sure to make a note of the username and password as you will need it next time browsing to this site.
Please leave a comment or send me a message if you found this helpful. Thanks!